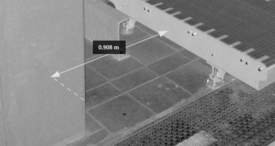
Furthermore, HD images can be created from the laser scan, which allow dimensioning with an accuracy of less than 10 mm. In addition, any dimensions that may be required at a later stage can be generated quickly and easily from the recorded data, thus avoiding the necessity for subsequent measurements.
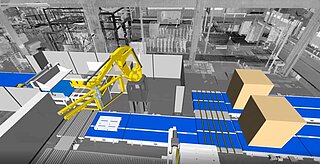
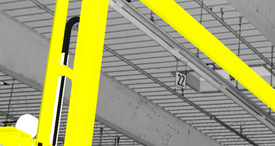
The laser scans being produced in a very short time include all structural conditions such as columns, existing machines and possible interfering edges such as pipes or suspensions. Thus all level differences and angular deviations can exactly be determined.
The work with such a recording of the actual state creates not only reliability but also represents a cost-optimized model thanks to time savings and accuracy.


